
Table of Contents
- Introducing Chocolatey
- Wait! ELI5 What is a package manager?
- How to install chocolatey
- Bulk install software
- Check outdated software
- Install a custom version of a specific software
- Upgrade all installer software packages
- Uninstall Chocolatey packages
- Clean left-overs and caches of Chocolatey
- Installing graphical user interface (GUI) for choco
- Import and export choco backup file
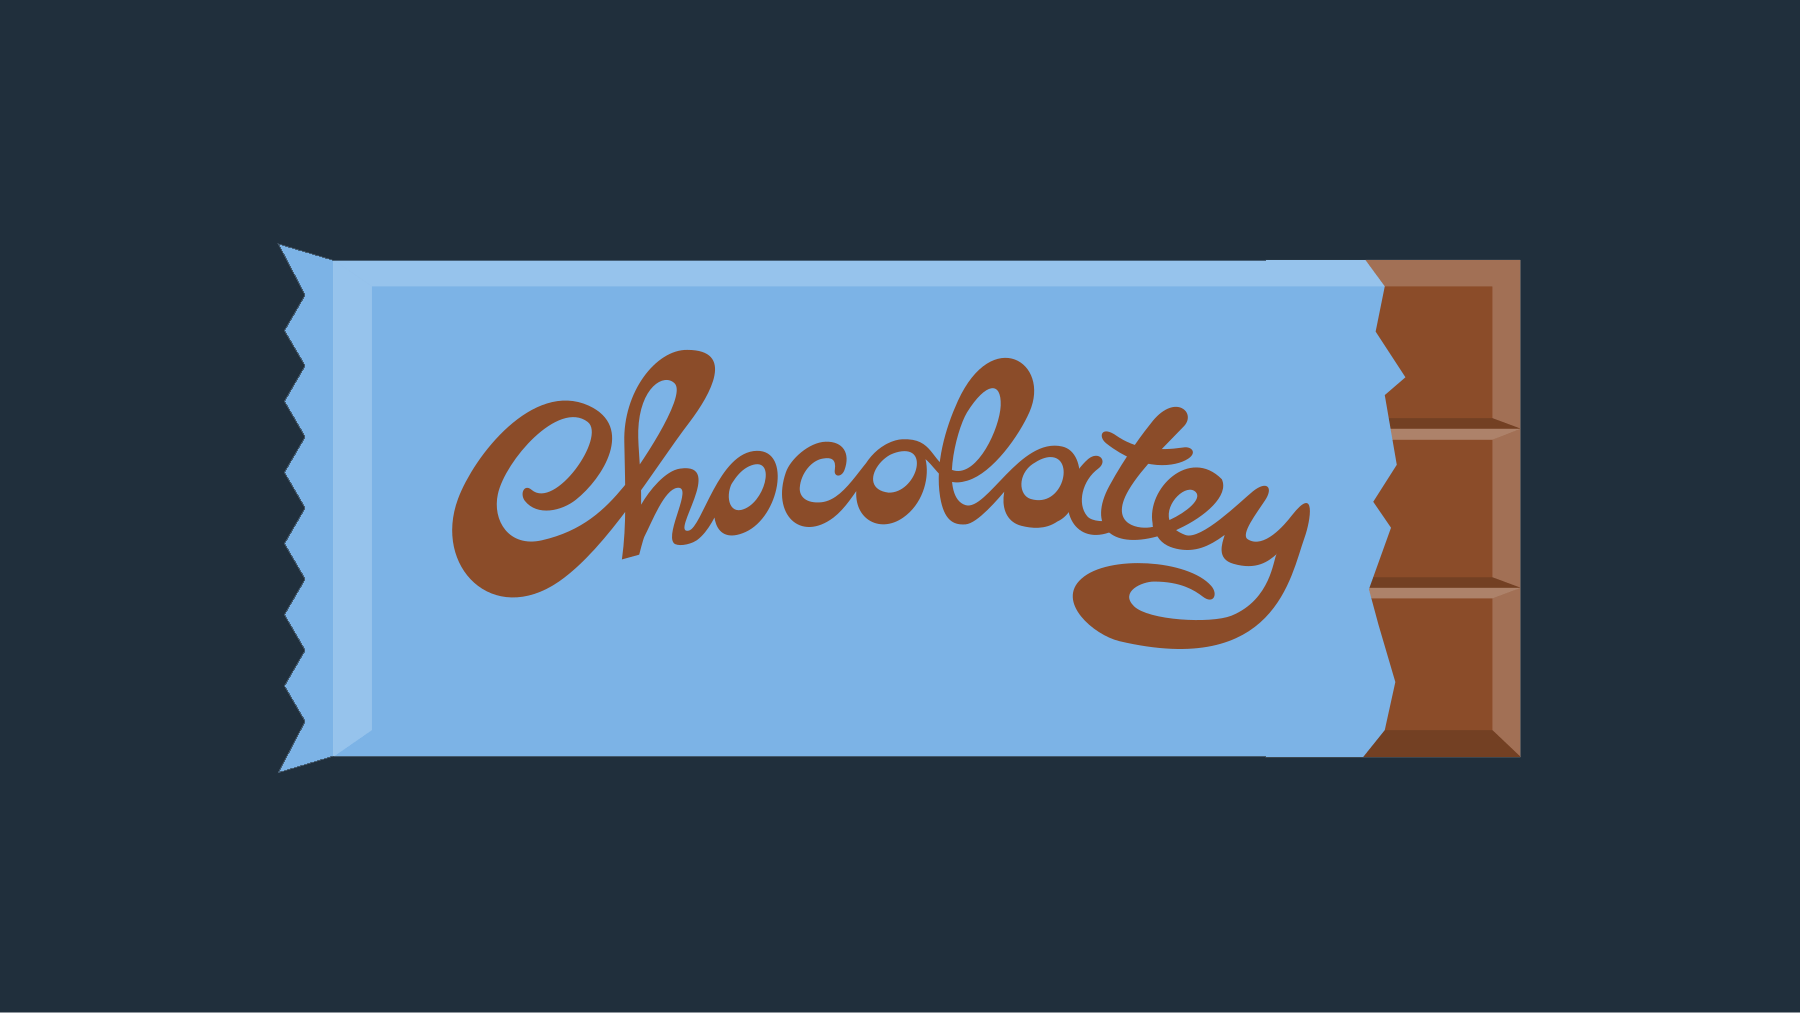
Introducing Chocolatey
Chocolatey is a free, open-source package manager for Windows that can be considered a replacement for the Windows Store.
It is a machine-level, command-line package manager and installer for Windows software. It uses the NuGet packaging infrastructure and Windows PowerShell to simplify downloading and installing software.
If you ever used apt-get or yum, Chocolatey will be very familiar to you. There are both Free and Pro editions of Chocolatey. But for most home users, the free version will be enough. In this article, I will talk mostly about the personal use case for chocolatey rather than the enterprise use case. We will explore details about how to install Chocolatey and manage software with it on Windows 8.1, Windows 10, and Windows 11
Wait! ELI5 What is a package manager?
For those who don’t know what ELI5 is, ELI5 is short for “Explain Like I’m 5”. ELI5 is a simple way to explain a concept to a person who is not very familiar with the concept. (Like explaining something to a five years old child).
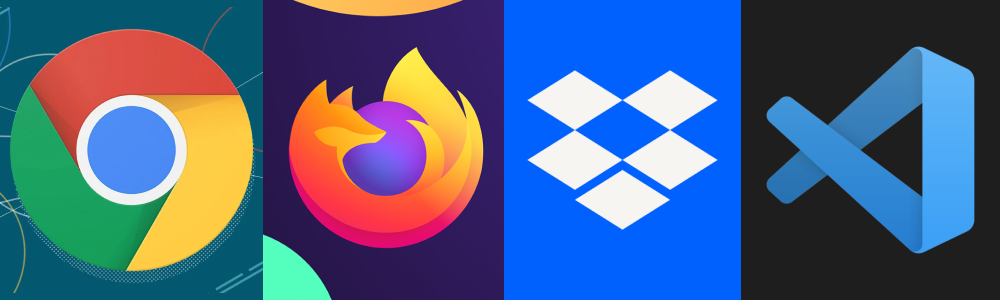
Let’s say you just installed Windows on your PC or Laptop. Now you want to install some software. I.e., Chrome, Firefox, Dropbox, Vscode, Git, etc. How can you do that?
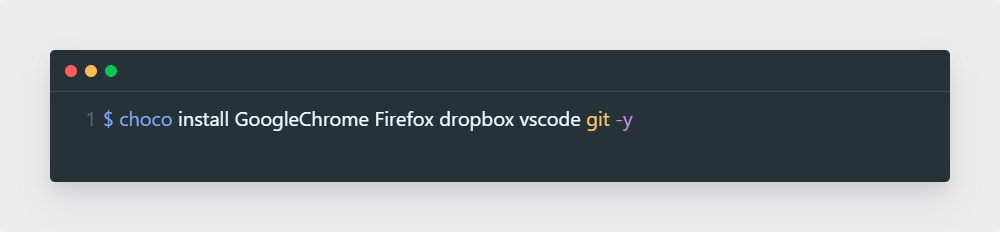
Ya sure, you can go to the Windows Store and search for the software, or you can visit each of the softwares’ websites, download the installer, run it and click a bunch of buttons to install them successfully. But there is a better way. First, you need to install Chocolatey. Then you can just open up CMD.exe or Windows Terminal as Administrator and type the following command:
choco install GoogleChrome Firefox dropbox vscode git -y
Boom you’re done.
Sounds like magic? It is kinda. It is actually Chocolatey that is doing all the heavy lifting for you. Want to know how to install Chocolatey and manage software with it? Let’s go!
How to install chocolatey
System Requirements
Chocolatey requires very minimal effort to be installed. System requirements are as follows:
- Windows 7+ / Windows Server 2003+
- PowerShell v2+ (Not PSCore yet)
- .NET Framework 4+ (the installation will attempt to install .NET 4.0 if you do not have it installed)
Installing Chocolatey on Windows
-
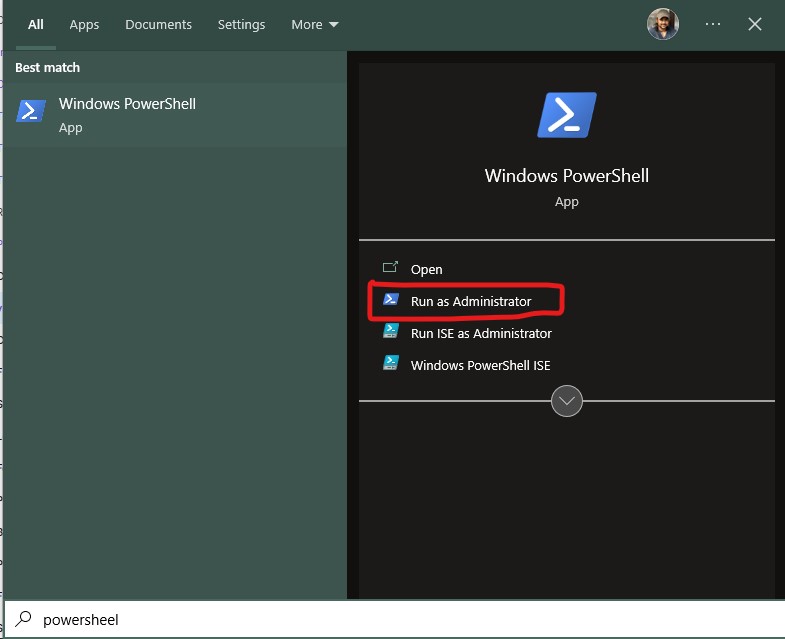
Press Win+S search for PowerShell. Don’t click it yet.
-
Click on Run As Administrator
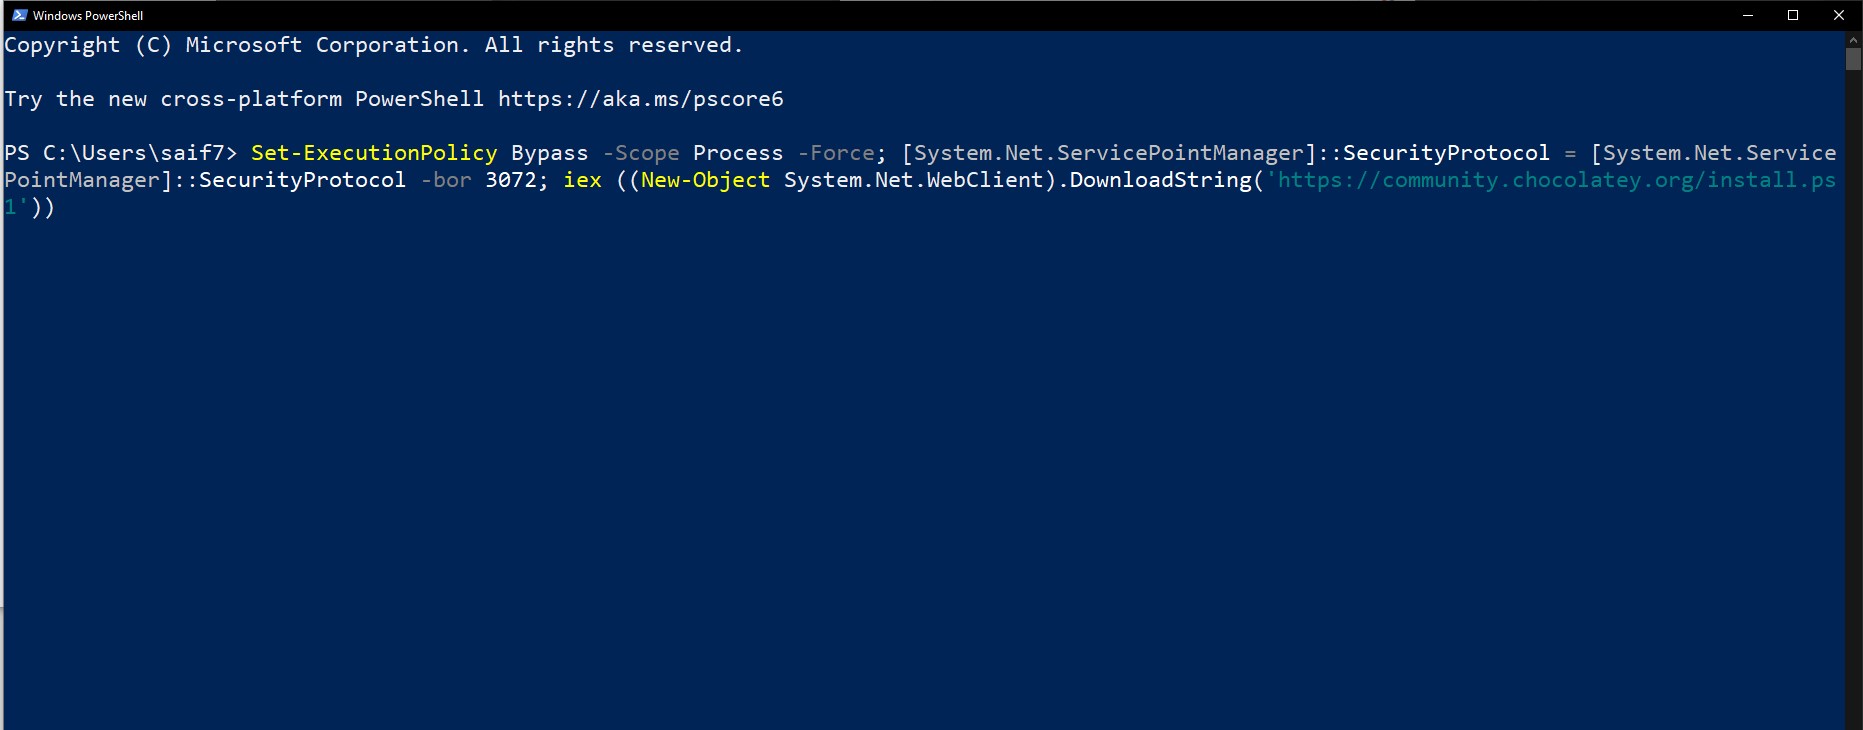
- Copy the following commands and paste them to PowerShell
Set-ExecutionPolicy Bypass -Scope Process -Force; [System.Net.ServicePointManager]::SecurityProtocol = [System.Net.ServicePointManager]::SecurityProtocol -bor 3072; iex ((New-Object System.Net.WebClient).DownloadString('[https://community.chocolatey.org/install.ps1](https://community.chocolatey.org/install.ps1)'))
-
Press Enter and wait for the command to be completed. If you don’t see any error, you’re done.
-
You can also verify choco installation by running.
choco or choco -?
Note: You can install via CMD as well, following the same steps. But for CMD, run this command instead.
@"%SystemRoot%\System32\WindowsPowerShell\v1.0\powershell.exe" -NoProfile -InputFormat None -ExecutionPolicy Bypass -Command "[System.Net.ServicePointManager]::SecurityProtocol = 3072; iex ((New-Object System.Net.WebClient).DownloadString('https://community.chocolatey.org/install.ps1'))" && SET "PATH=%PATH%;%ALLUSERSPROFILE%\chocolatey\bin"
Running on a non-windows system
Via Docker: There are Docker images available on Docker Hub.
There are some feature limitations on the non-windows systems. Such as the package PowerShell scripts, automatic uninstallers, and alternate installation sources. These will likely never work as they work with Windows-specific components.
Chocolatey Commands Supported On Non-Windows Systems
- list
- search
- find
- help
- info
- pack
- push
- new
- config
- feature
- apikey
- Template
The commands for installing, pinning, upgrading, and uninstalling packages are available, but they are intended to be used with only .template packages. These commands are supported for the management of .template packages:
- install
- pin
- outdated
- upgrade
- source
- uninstall
- export
Bulk install software
To install multiple software or packages at once, run this command. Replace the package names as you like. Note that the -y flag will auto-accept all the prompts for you.
choco install GoogleChrome Firefox dropbox vscode git -y
Check outdated software
To check which software packages are outdated run:
choco outdated
Results will be something like this:

Install a custom version of a specific software
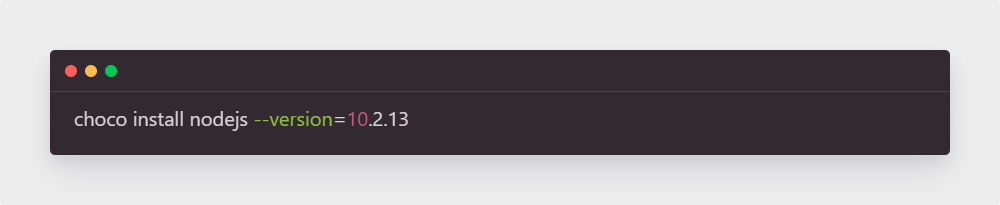
If you want you can install a specific version of a package rather than the latest version. To do this run the following command. You can specify the version through the --version flag.
choco install nodejs --version=10.2.13
Upgrade all installer software packages
You can upgrade all installed chocolatey packages to the latest version with just one command.
choco upgrade all
Uninstall Chocolatey packages
Similar to installing packages, you can uninstall specific packages or multiple packages with simple commands.
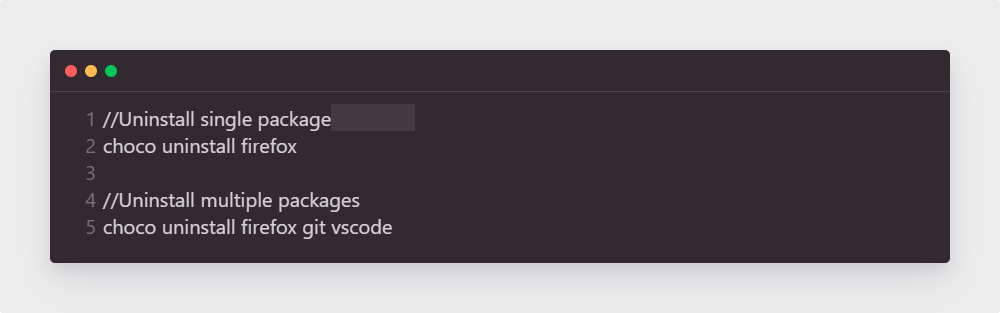
To uninstall a specific package run this command. (Remember to replace firefox with your desired package name)
choco uninstall firefox
To bulk uninstall packages, append package names with space. (Again, remember to replace the package names as per your requirements)
choco uninstall firefox git vscode
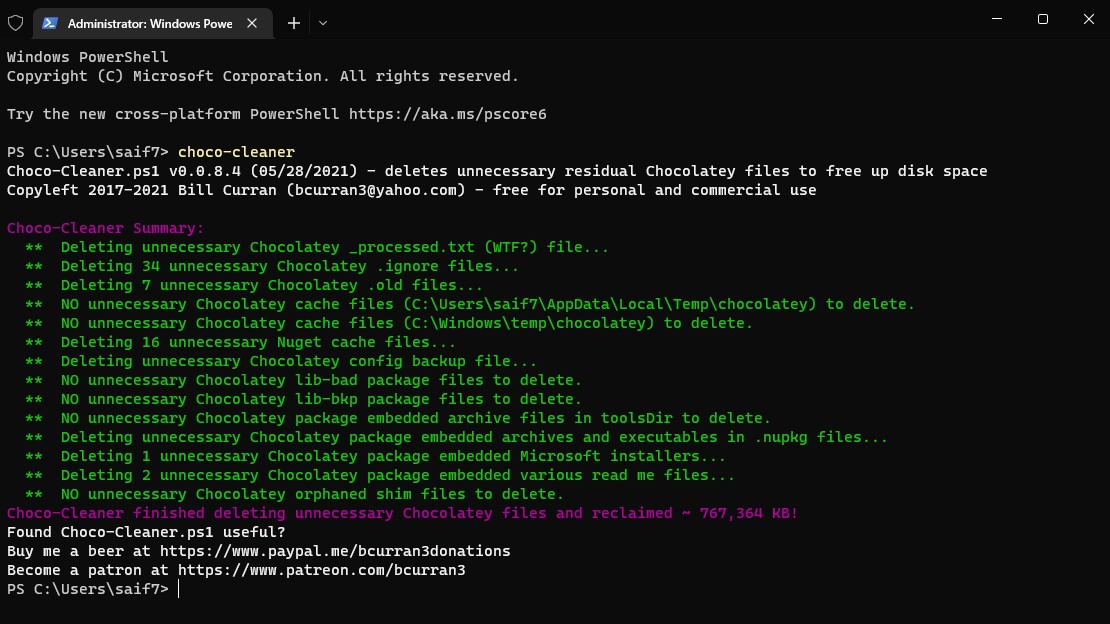
Clean left-overs and caches of Chocolatey
Although choco takes care of caches on its own. You can also force clean caches and garbage. To do this, we are going to use a third-party package “choco-cleaner”. First, install choco cleaner by running the following command.
choco install choco-cleaner -y
Then run choco-cleaner in CMD or Powershell. The result will be something like this.
Installing graphical user interface (GUI) for choco
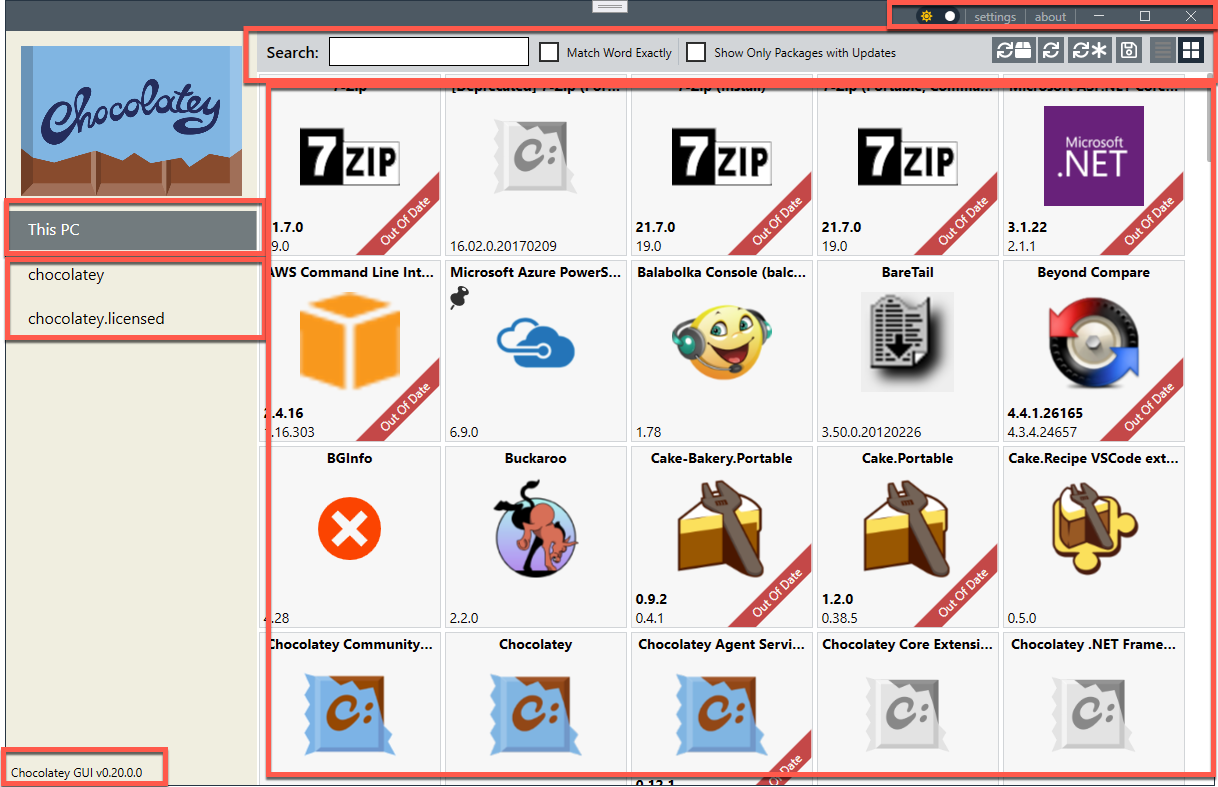
If you’re onto that, Chocolatey also has a wonderful GUI (graphical user interface). You can run some basic operations of choco such as update, install, uninstall and view the list of packages.
To install choco GUI, run choco install chocolateygui -y
You can then launch choco GUI from the Windows start menu.
Import and export choco backup file
You can easily create a backup of the currently installed packages via chocolatey. Later you can use that file to install all the packages to a new PC. You just need to transfer the backup file to a new pc and run a simple command. All packages of the previous PC with optionally specific versions will be installed immediately. Let’s explore it step by step.
Export list of packages
Install choco-package-list-backup by running the following command.
choco install choco-package-list-backup
It will generate a .config file in your document folder. Store the file in a safe place for later use.
You can tweak different backup settings too. Go to your documents folder and open “choco-package-list-backup.config” in a text editor such as VSCode. Here are the default options and explanation of what they do.
| Config | Details |
|---|---|
| AppendDate | - Change to true if you want to keep snapshot in time copies. |
| SaveFolderName | - Change the folder name if you don’t like the default, do NOT use quotes. |
| SaveTitleSummary | - Change to true if you want to save package title and summary info. |
| SaveVersions | - Change to true if you want to save pacakge version info. |
| CustomPath | - Edit to save to a special location of your choice, do NOT use quotes. |
| UseCustomPath | - Change to true if you are using CustomPath. |
| CustomPath2 | - Edit to save to a 2nd special location of your choice, do NOT use quotes. |
| UseCustomPath2 | - Change to true if you are using CustomPath2. |
| UseXxxxxxxxx | - Should be obvious. |
| SaveAllProgramsList | - Save a list of all installed Windows programs (by Chocolatey or not) true/false. |
| AllProgramsListFile | - Filename to save the list of All installed Windows. |
| DefaultUserProfile | - Default user profile to use when running as SYSTEM (task); e.g. William, Robert, Benjamin (HINT: Look at C:\Users) |
| UseDefaultUserProfile | - Change to true if you are want to use DefaultUserProfile |
| SaveArguments | - Save install arguments |
| PreProcessScript | - Script to run before CPLB; e.g. c:\scripts\beforeCPLB.bat |
| PostProcessScript | - Script to run after CPLB; e.g. c:\scripts\afterCPLB.bat |
Import list of packages
-
Place the backup file in the root C:/ drive.
-
Open up CMD or Powershell as administrator.
-
Type
cd C:\and press enter to set the path to the root of the C:/ -
Run
choco install packages.config -y(change the path and file name if you need)